Back to blog
8 MIN READ
Product Discovery Process - 7 Key Stages for Product Teams
PUBLISHED
26 January, 2025

Product Analytics Expert
Not all products fail because of poor UX. Plenty of beautiful, well-designed products fail because the underlying idea is simply bad—or at least misguided. The product discovery process is where bad ideas are weeded out, and good ideas are defined, improved on, and tested.
Want to learn how the process works?
In this article, we explore the eight stages of product discovery—from idea generation to testing and validation. By understanding these steps, you can make sure that your team is doing everything possible to set their product up for success.
The Product Discovery Process
| Steps | Description |
|---|---|
| Assemble a Product Discovery Team | Form a cross-functional team with clear goals. |
| Understand Your Users | Conduct user research and analyze behavior using UXCam. |
| Define Problems Clearly | Identify, validate, and prioritize key user problems. |
| Ideate Potential Solutions | Brainstorm diverse solutions for the identified problems. |
| Create Prototypes | Develop low to high-fidelity prototypes for testing. |
| Develop an MVP | Build a minimum viable product to test core functionality. |
| Launch and Monitor | Release MVP, track feedback, and iterate using analytics. |
What is product discovery?
Product discovery is the first stage of product (or feature) development.
It’s the process of learning what your users (or target users) want, brainstorming and researching the best solutions, and validating your ideas before development begins. The goal is to back up your idea (and the design choices that bring it to life) with data so that you can avoid costly mistakes or wasted time.
This process is part user research, part project management, and part product design. As a result, it involves a range of different stakeholders (e.g., product managers, designers, etc.) and tools (e.g., product analytics, prototyping tools, etc.).
Take UXCam, for example.

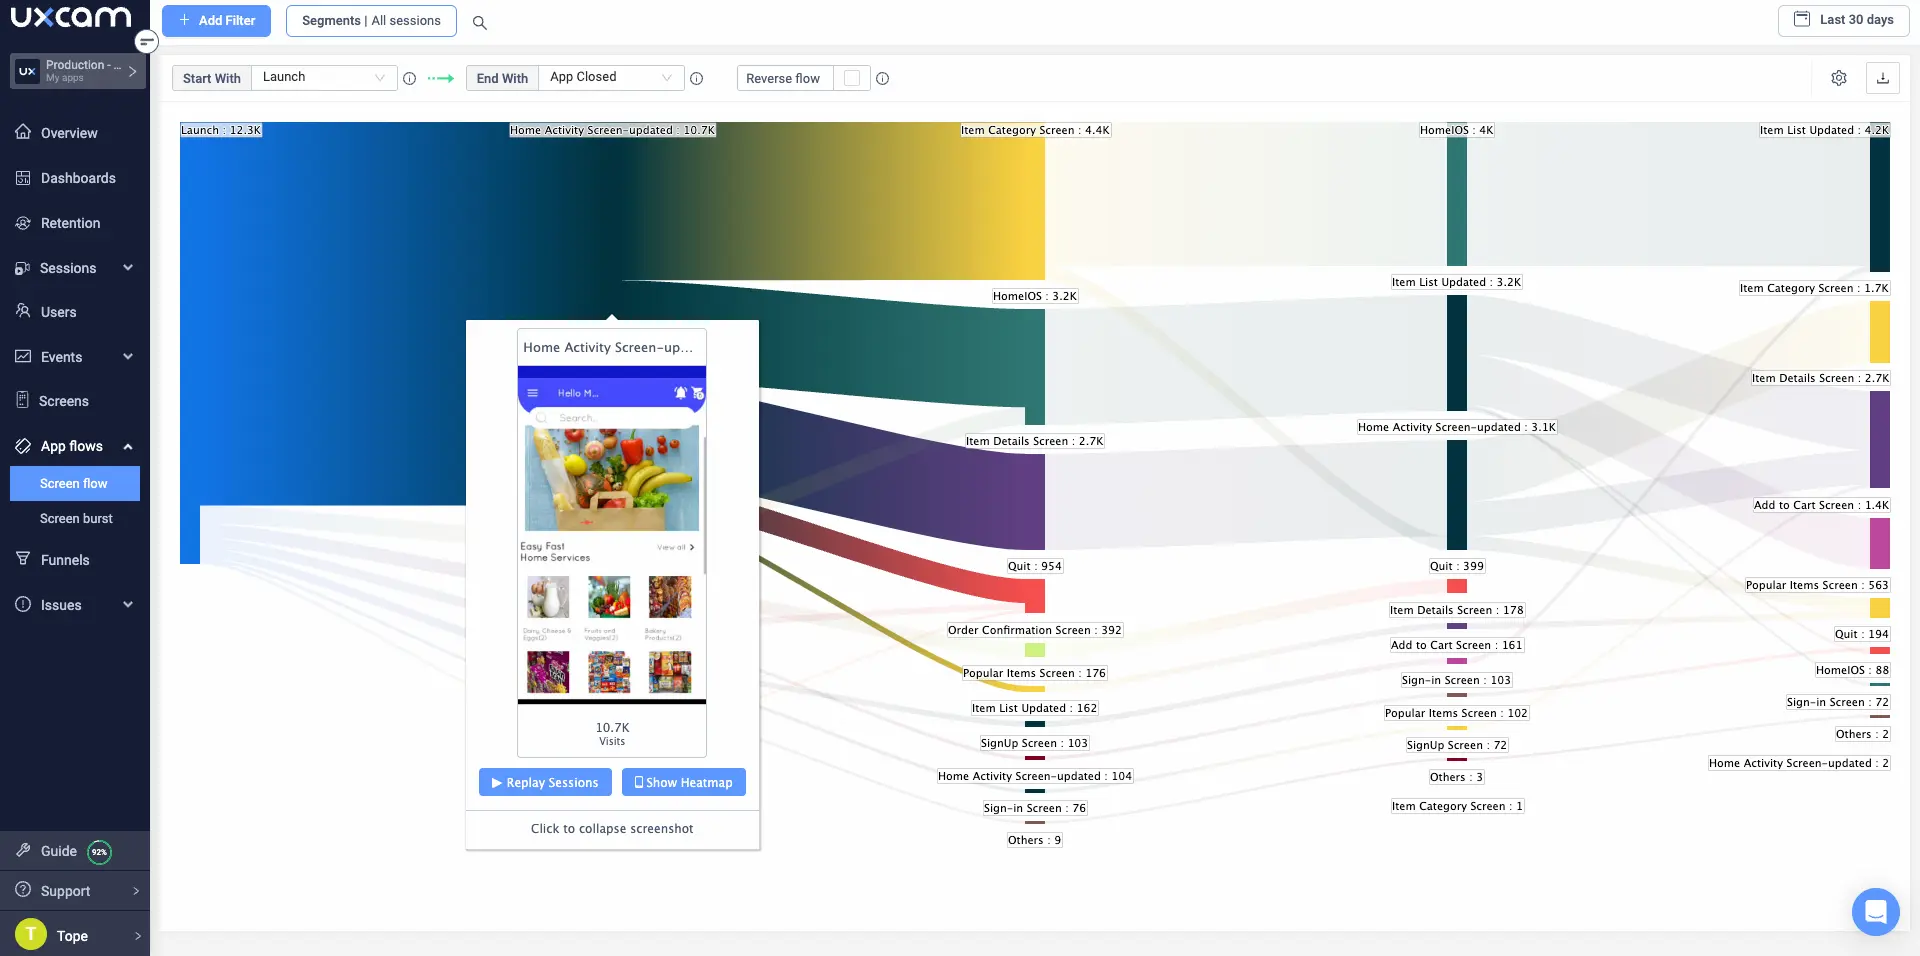
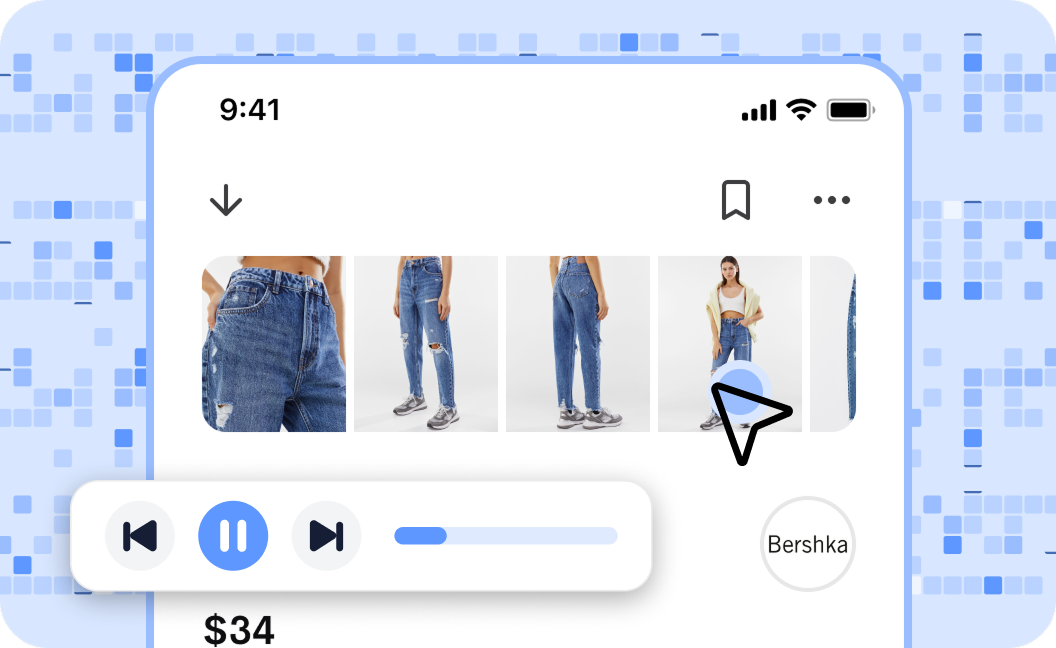
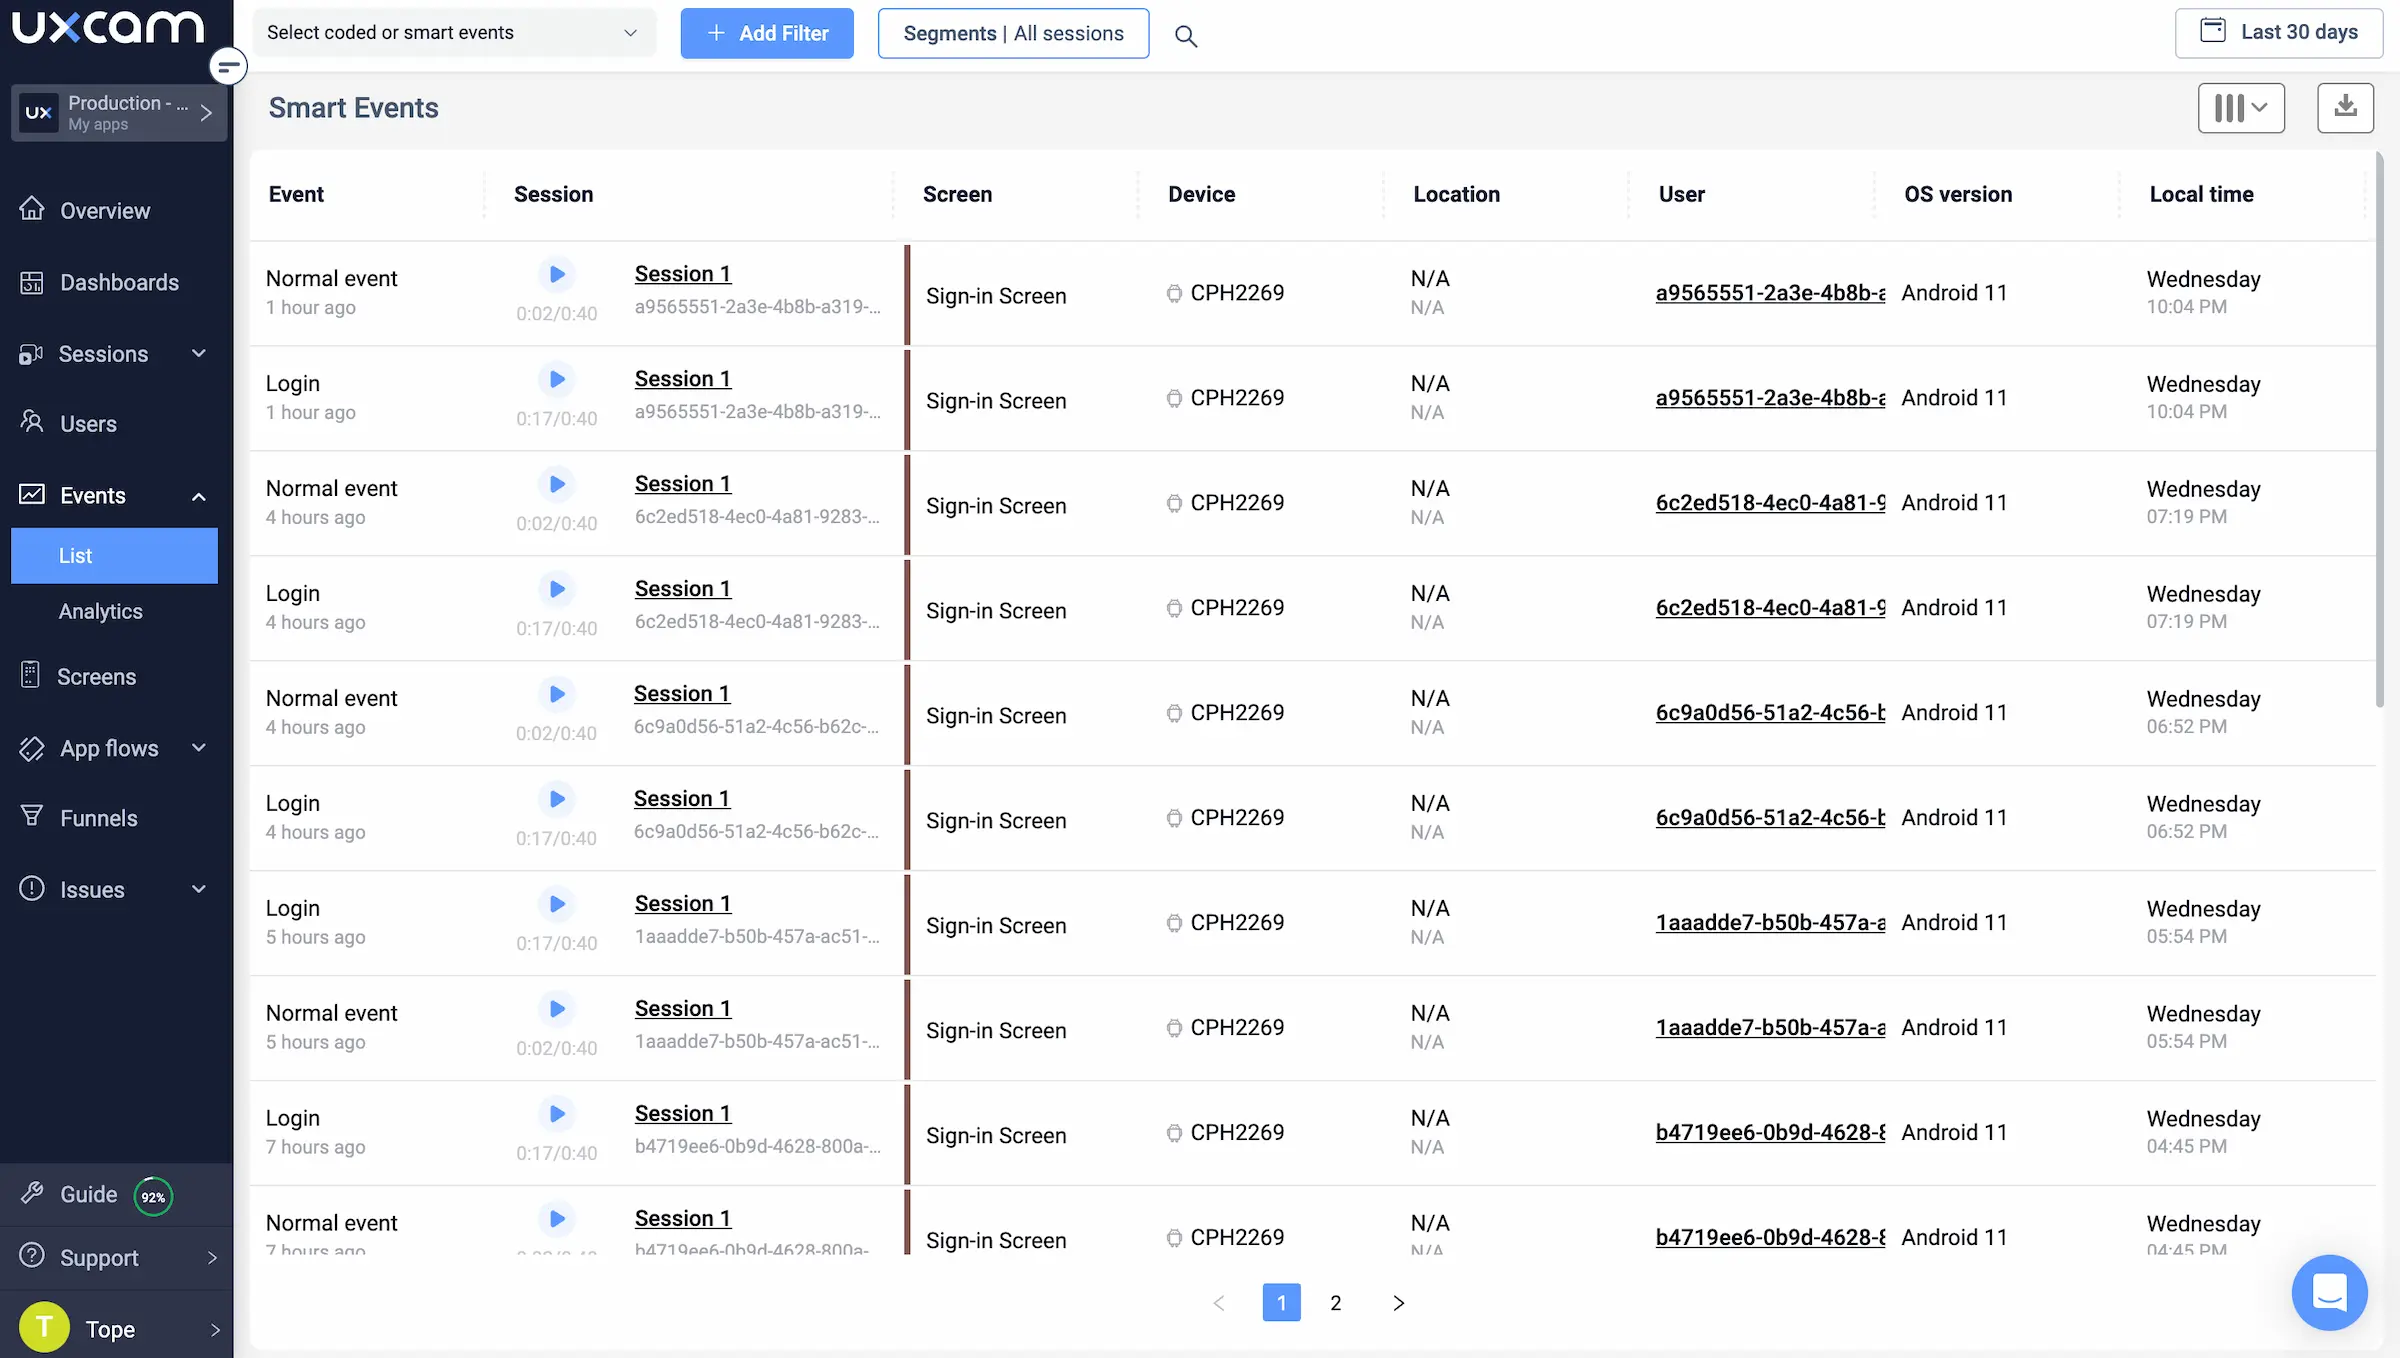
UXCam is a powerful mobile product analytics suite you can use to uncover user problems and validate your functional prototypes. Features like session replays, event analytics, and heatmaps help you zero in on the “whys” behind user behavior—both validating and refuting your design decisions.
Benefits of product discovery
Product discovery is a process of validating the assumptions and hypotheses about a product before building it. It helps to make sure that the product meets the needs and expectations of the customers, as well as the goals and vision of the business.
Here are some of the biggest benefits:
Reduces risk: Product discovery helps to reduce the risk of investing in something that doesn’t have demand or solves a need. It also reduces the chances of developing a product no one will use.
Focuses on customer needs: With product discovery, you focus on understanding and meeting user needs before investing heavily in development.
Better alignment: Product discovery forces you to clarify your assumptions, which helps make sure everyone is on the same page and working towards the same goal.
Improved ROI: With product discovery, you can reduce your overall investment by focusing on developing only what customers need and want. This can lead to a better return on investment in the long run.
Top product discovery techniques
Building the right product starts with effective product discovery—a structured approach to identifying user needs, testing assumptions, and refining ideas before development. Using the right product discovery techniques, teams can reduce risks, avoid wasted resources, and create solutions that truly resonate with users.
1. User research – understanding your audience
Gather qualitative and quantitative insights through interviews, surveys, and behavioral analytics. Understanding user pain points and motivations ensures your product solves real problems. Tools like UXCam help track user behavior in real time.
2. Problem definition – prioritizing the right challenges
Clearly define and validate the problem before jumping into solutions. Frameworks like Jobs-to-be-Done (JTBD), the Kano Model, and 5 Whys help teams focus on the most impactful issues.
3. Competitive analysis – learning from the market
Assess competitor strengths and weaknesses to identify gaps and opportunities. Reviewing user feedback and competitor features helps refine positioning and differentiate your product.
4. Brainstorming & ideation – generating potential solutions
Encourage cross-functional collaboration to explore multiple solutions for the defined problem. Techniques like Crazy 8s, Design Sprints, and Mind Mapping help teams explore diverse perspectives.
5. Prototyping – bringing ideas to life quickly
Develop low-fidelity sketches or high-fidelity interactive prototypes to test concepts before coding. Tools like Figma, InVision, and UXCam session replays help visualize and refine ideas.
6. MVP development – testing core functionality
Build a Minimum Viable Product (MVP) with essential features to validate key assumptions. This lean approach enables faster feedback and iterative improvements.
7. Continuous testing & feedback – refining the solution
Use usability testing, A/B testing, and analytics tools to track user interactions. Iterative feedback ensures the product evolves based on real-world data rather than assumptions.
By leveraging these product discovery techniques, teams can build products that align with user needs, minimize risks, and create better experiences from day one
The product discovery steps
Here's how to do product discovery;
Assemble a product discovery team
Understand your users
Define problems clearly
Ideate potential solutions
Create prototypes
Develop an MVP
Launch and monitor
Step 1 - Assemble a product discovery team
The first stage of the product discovery process is to assemble a team of people who will work together to generate and evaluate ideas.
The team should include people from different backgrounds and perspectives, like product managers, designers, developers, marketers, and customers. The team should also have a clear vision of the problem they're trying to solve and the goals they're trying to achieve.
Step 2 - Understand your users
Your users are the foundation of the product discovery process. You need to understand who your users are, what their needs and wants are, and how they actually use (or will use your product) your product.
If you have an existing product that you’re attempting to improve, that often means investing in a monitoring solution like UXCam.


It’ll give you valuable insights into user behavior through features like:
Session replays
Heatmaps
Event analytics
Segmentation
Start with broad trends at first (e.g., “users aren’t using feature X”) and narrow your focus over time to zero in on potential root causes (e.g., “users can’t find feature X in the menu”). You can also use competitor research and user feedback to identify what’s missing or needed from a product.
This process is a bit harder if you don’t have an existing user base to draw on. You’ll need to rely exclusively on surveys, competitor research, and other qualitative data sources until you have a functional prototype to offer to users.
Step 3 - Define problems clearly
Identifying problems is great, but you need to take it a step further by clearly defining them.
What does this mean?
Well, for starters, it means literally defining each problem you encounter as concisely as possible (ideally in one sentence). If you find that users dislike how many taps it takes to log a meal in most calorie trackers, you could define the problem as: “Users are frustrated by lengthy food tracking workflows.”
This is essential because it provides clarity and precision when working on solutions. It also ensures that everyone is working towards solving the same problem. And lastly, it serves as a great jumping-off point for brainstorming potential solutions (more on that later).
Next, it’s time to clarify your focus by eliminating problems that aren’t worth your time by:
Validation problems: Determine if this is really an issue, or if it’s just something people think they want using techniques like ranked problem lists, surveys, and interviews.
Prioritize problems: Assess the impact and scope of each problem quantitatively. For existing products, use a monitoring tool like UXCam to detect issues in context. For new products, use a framework like the Kano Model to evaluate the importance of each problem. Prioritize problems using a predetermined framework (e.g., complexity-value matrices) to figure out which ones you should tackle first.
Step 4 - Ideate potential solutions
The next stage is to brainstorm as many ideas as possible that could potentially solve the problem or address the opportunity. The team is free to get creative here—the goal is quantity over quality.
Use techniques like:
Sketching
Mind mapping
Storyboarding
Brainstorming sessions
During the ideation stage, try to avoid unnecessary detail. Methodologies like Basecamp’s Shape Up Method are great for focusing on creative freedom (within bounds) and flexibility during this process.
Once you have some ideas to work with, you’ll come together to discuss, refine and prioritize the best options. This is where you can debate the pros and cons of each idea, consider the resources necessary to bring it to life, and decide which solutions are worth pursuing.
Step 5 - Create prototypes
The next stage is to create prototypes that represent the key features and functionalities of the solutions. We have in-depth guides to app prototyping on the blog already, so we’ll keep this section relatively brief.
Your goal is to create increasingly complex versions of the prototypes that allow you to test different features without diving into coding. The techniques used can vary quite a bit, including:
Pen and paper sketches
Wireframes
Mockups
Clickable prototypes
At each stage, you’ll put yourself in the user’s shoes to identify any issues that could impact usability, or any areas where the product fails to meet your expectations. Slowly, but surely, your prototype will develop into a viable solution to the core problem(s) it’s attempting to solve.
As your prototypes become higher-fidelity, you can move past theoretical testing and into user testing. This process allows you to see exactly how “users” (usually team members at this stage) interact with the product, and what areas need improvement.
Step 6 - Develop an MVP
Based on your prototype tests, you should now have a pretty clear picture of what your MVP will look like. You know what features need to be present, (roughly) how they should be executed, and the overall workflow of your product.
This is the stage where you take your prototype and turn it into a working product. Make sure you build in flexibility and scalability—you don’t want small changes to cause massive rewrites or bugs down the line.
Step 7 - Launch and monitor
The final stage of the process is to actually launch and test your MVP. If you’ve done everything right up to this point, the launch should be relatively smooth. Open up a beta version to a select group of users and monitor these early experiences as thoroughly as possible.

For mobile apps, UXCam offers an all-in-one analytics solution that delivers qualitative and quantitative insights into user experience. Whether you’re in beta testing or fine-tuning an established product, UXCam helps you gather the data you need to optimize your user experience.
Conclusion and next steps
The product discovery stages are a framework to understand user needs, validate assumptions, and build a valuable product. They include empathizing, defining, ideating, and testing. Each phase has its own methods and tools for gathering insights, generating ideas, and evaluating feedback.
For data-driven product discovery, consider UXCam. Our mobile product analytics suite captures and analyzes user behavior, helping you understand interactions, preferences, and challenges.
Start your free trial today and start your journey towards a better UX.
You might also be interested in these;
What is a product positioning map? (+ how to create one)
Product adoption strategy - how to increase adoption rates
Product adoption dashboard - How to track adoption metrics
AUTHOR

Tope Longe
Product Analytics Expert
Ardent technophile exploring the world of mobile app product management at UXCam.
What’s UXCam?
Related articles
Product best practices
Top 11 Remote Usability Testing Tools You Can Use Now
Usability testing tools that will put your mind at...

Jonas Kurzweg
Product Analytics Expert
Tara AI
How teams use Tara as their AI product analyst
A practical guide on how product teams use Tara as their AI product analyst; from diagnosing drop-offs to prioritizing what to fix next and making better decisions,...

Begüm Aykut
Growth Marketing Manager
App Analytics
Top Analytics SDKs 2026
Pick the right analytics SDKs to improve your app's...

Jonas Kurzweg
Product Analytics Expert

